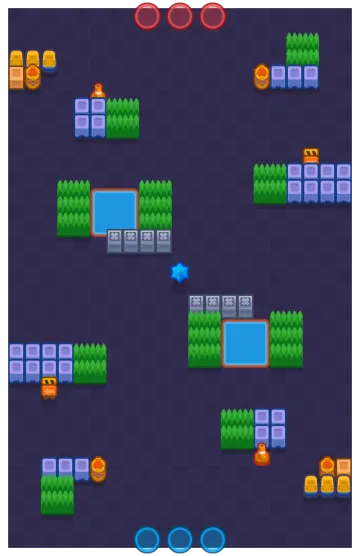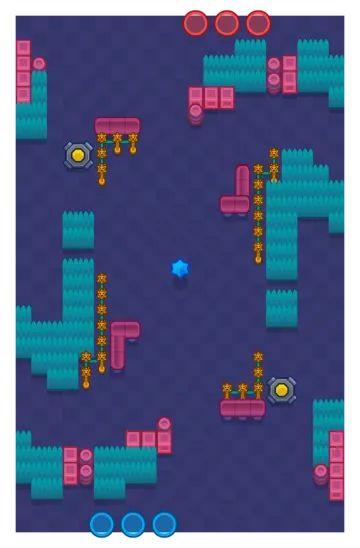
BountyNot in rotation
 Bounty
Layer Cake
Finish the round with more stars than the other team.
Overlays
Annotations are reviewed by hand for this map.
Plan your strategy
Draw routes, mark positions and share a plan with your team. Your draft saves on this device.
How this map plays
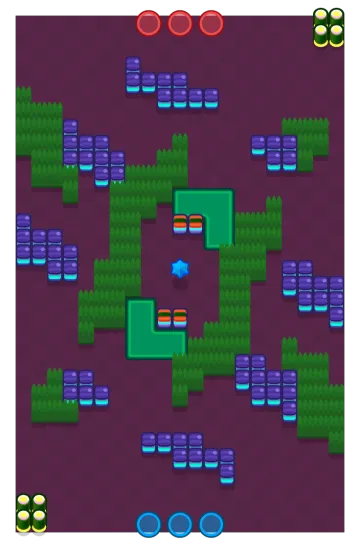
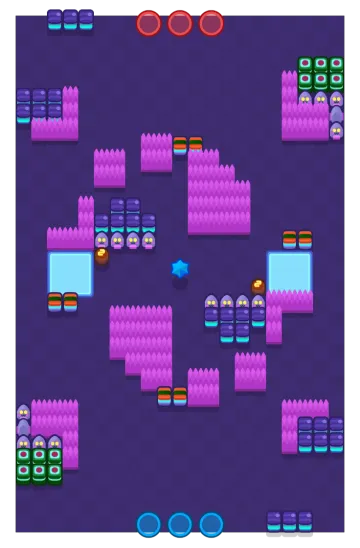
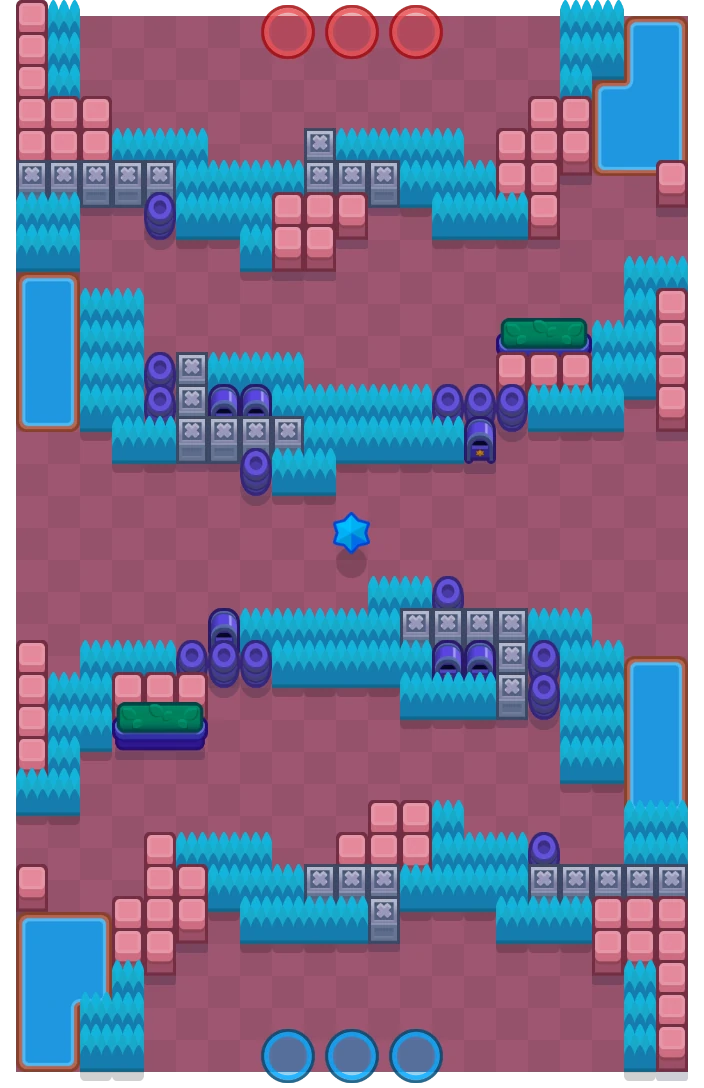
Four thick bush layers stacked across the map with narrow open bands between them, and the star sitting in the widest of those bands. Almost every kill here comes from someone walking into a bush that already had somebody in it. Long-range brawlers are far weaker than they look because the layers cut every lane into short segments.
- Four full-width bush layers run across the map, two on each side of the halfway line.
- A clear horizontal band of open floor sits between the two middle layers, with the star in the middle of it.
- Gaps in each layer are narrow and staggered, so crossing the map means passing through cover repeatedly.
- Water pools sit in the corners and cut off the outermost rotation on each side.
- Walls and crates are scattered inside the layers, giving throwers permanent cover.
What it is built from
ThemeHub
Bushes140
Walls60
Solid walls30
Best on Layer Cake
3,071 matches on this mapEpicShade
Rank #1
LegendaryAmber
Rank #2
Super RareGus
Rank #3
MythicWendy
Rank #4
MythicDoug

MythicMr. P

MythicR-T

MythicOllie
Reviewed picks
reviewed 19 Jul 2026Shellythe layers put her in shotgun range of everything without her having to walkBarleylobs into a bush layer he never has to enterBullfour bush layers means he is never more than a step from a free engageLeoninvisibility inside a bush layer is close to unanswerable hereBohis mines make the narrow layer gaps genuinely dangerous to crossTaraher Super pulls a whole team out of a layer into the open star band




Team compositions
Layer ambushShelly · Bull · PocoTwo close-range brawlers living in the bushes and the sustain to keep re-entering them.

Burn the layersBarley · Bo · TaraArea damage that clears cover, mines on the gaps, and a Super that punishes grouping.
Playing it well
- Never walk into a layer alone; clear it with area damage or send two bodies in together.
- The star band is the only long lane — grab the star early and then stop standing on it.
- Trade in the layers when you are behind and hold the open band when you are ahead.
- Track which layer their high-bounty brawler is in; that is the only fight worth starting.
- Use the staggered gaps to reset — you can break line of sight in one step almost anywhere here.