
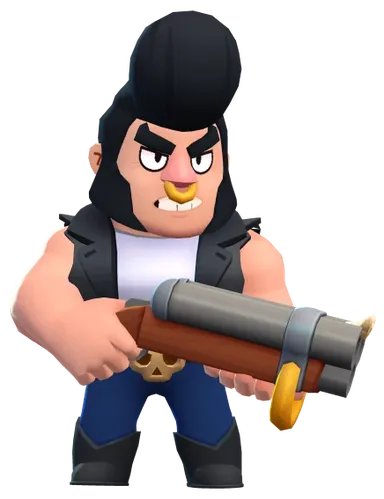
Attack
Double-Barrel
Damage per shell440
Range5.33 tiles
Projectiles5
Super charge11%per hit
Reload1.6s
5.33 tiles of reach
His reload speed doubles once he falls below three fifths health, so a losing trade becomes a faster one.
Below roughly a third health he gains a damage reduction shield, and loses it again the moment he heals back over that line.
Throws a single projectile that heals Bull for what it deals when it connects with an enemy brawler. It cannot be used mid-charge.
Stomps the ground and slows everyone nearby; anything already slowed is stunned instead, which is how Bull holds a target still for his charge.
Gives him a heavy damage reduction shield for the length of his charge, so he survives the walk into a full team.
Any map with real bush cover, which is where he gets to choose every fight.
 Berserkerthe reload speed-up makes him strongest exactly when he is low
 Stomperbreaks the wall between him and whoever is hiding behind it
 Shieldhe wins by outliving the first exchange
 Speedclosing distance is the entire job
 Jaws of Steelturns a charge into an unstoppable one
Open maps where he cannot ambush and instead has to soak damage for the team.
 Tough Guya shield at low health buys the seconds his team needs
 T-Bone Missilehis only way to threaten anything he cannot reach
 Healthmore of the resource he actually trades with
 Gadget Cooldownmore long-range pokes across a stalemate
Brawl Ball, where his charge both scores and clears the goal mouth.
Berserkera low-health Bull in the goal mouth is the scariest thing on the pitchStomperremoves the crates screening their netSpeeda carrier who cannot be caughtShieldhe cannot shoot back while carryingJaws of Steela charge that survives the whole defensive lineAll modes · Every trophy range · 1 Sep – 19 Oct
Trophy ranges use the player’s Bull trophies at match time.
Bull's win rate in sampled team battles
 Tick 1,664 matches65.9%
 Edgar 3,941 matches59.0%
 Mortis 4,029 matches57.1%
 Shelly 1,186 matches52.9%
 Fang 1,486 matches52.3%
 Bibi 3,296 matches51.9%
Bull's win rate in sampled team battles
 Amber 5,937 matches20.6%
 Cosmo 1,460 matches25.4%
 Gus 6,066 matches26.9%
 Max 1,545 matches27.1%
 Shade 6,709 matches28.8%
 Maisie 1,492 matches29.0%
Bull's win rate in sampled team battles
 Gray 1,361 matches67.8%Cosmo 754 matches64.5%
 Belle 475 matches63.8%
 Ruffs 416 matches61.4%Amber 2,888 matches61.3%
 R-T 255 matches60.3%
A five-thousand-health shotgunner whose Super is a charge, so he arrives whether you wanted him to or not.
Sit in a bush near the objective and build the Super off chip damage; a Bull with no charge is a slow body with a short-range gun.
Always be one bush away from where the fight will happen — his entire value is choosing the moment, and out in the open he has none.
The charge goes through walls, so aim it through cover at the brawler behind rather than at the tank in front.
Charge with the ball, not toward it — he is a carrier, not a playmaker.
Bush-heavy Showdown maps are where he is genuinely dominant.
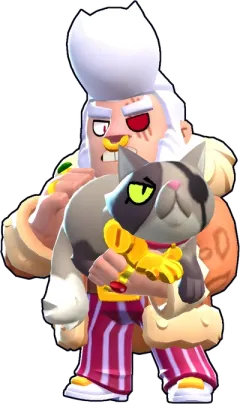 Epic149 gemsAlleycatBull
 Super RareBrawl PassB-800Bull
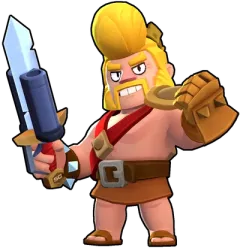 Super RareBarbarian KingBull
 Epic149 gemsBull Mang
 MythicHellBull
 EpicHopperBull
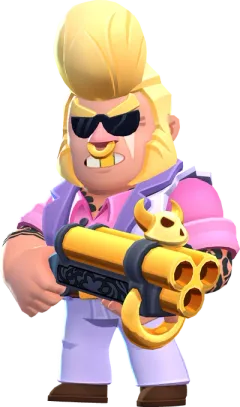 RareKansai DragonBull
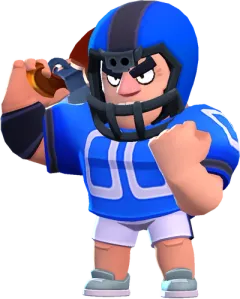 Super RareLinebackerBull
 EpicLionBull
 Mythic199 gemsMinotaurBull
 Super RareNorse RaiderBull
 Epic149 gemsSpace OxBull
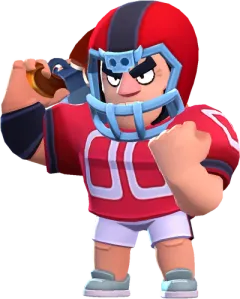 Super RareTouchdownBull
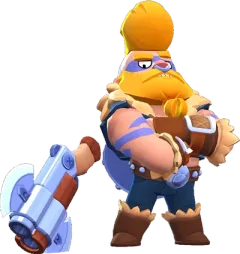 Super RareVikingBull
Bull ranks #95 in Brawlest's live tier list, with a 41.7% adjusted win rate across 40,047 matches of recent battles.
The loadout Brawlest recommends for Bull is Berserker, Stomper, Shield, Speed and Jaws of Steel.
Bull performs best in Knockout 5v5 and Heist — a 56.4% win rate in Knockout 5v5.
Bull tends to struggle against Amber, Cosmo and Gus. The matchups section above has the full counter breakdown.