
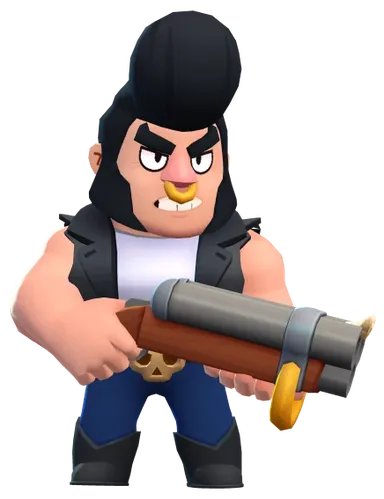
RareTank

Bull build

A five-thousand-health shotgunner whose Super is a charge, so he arrives whether you wanted him to or not.

Reviewed 19 Jul 2026

Loadouts

3
Bush hunterRecommended build

Any map with real bush cover, which is where he gets to choose every fight.

Star PowerBerserkerthe reload speed-up makes him strongest exactly when he is low

GadgetStomperbreaks the wall between him and whoever is hiding behind it
GearShieldhe wins by outliving the first exchange
GearSpeedclosing distance is the entire job
HyperchargeJaws of Steelturns a charge into an unstoppable one


Frontline BullRecommended build

Open maps where he cannot ambush and instead has to soak damage for the team.

Star PowerTough Guya shield at low health buys the seconds his team needs
GadgetT-Bone Missilehis only way to threaten anything he cannot reach
GearHealthmore of the resource he actually trades with
GearGadget Cooldownmore long-range pokes across a stalemate
Ball bullyRecommended build

Brawl Ball, where his charge both scores and clears the goal mouth.

Star PowerBerserkera low-health Bull in the goal mouth is the scariest thing on the pitch
GadgetStomperremoves the crates screening their net
GearSpeeda carrier who cannot be caught
GearShieldhe cannot shoot back while carrying
HyperchargeJaws of Steela charge that survives the whole defensive line

How to play it

Always be one bush away from where the fight will happen — his entire value is choosing the moment, and out in the open he has none.

The charge goes through walls, so aim it through cover at the brawler behind rather than at the tank in front.

Common mistakes

  • Charging into their whole team instead of at the one isolated backline brawler
  • Using the charge to escape, which wastes the only engage tool he has
  • Standing in the open where his three-tile range makes him a free target

Reviewed recommendations, not win rates: Brawl Stars never reports which loadout a player had equipped in a match, so nobody can measure one.