Brawl BallNot in rotation
 Brawl Ball
Beach Ball
Put the ball in the enemy net twice before they do, or lead on goals at the whistle.
Overlays
Annotations are reviewed by hand for this map.
Plan your strategy
Draw routes, mark positions and share a plan with your team. Your draft saves on this device.
How this map plays
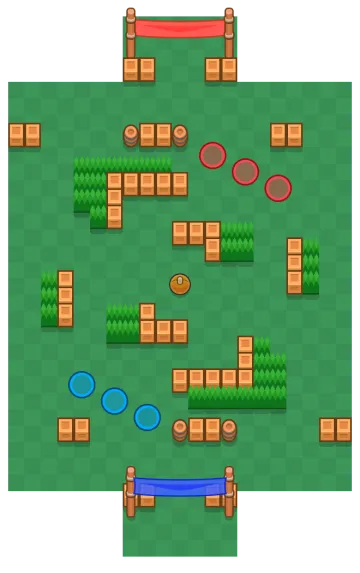
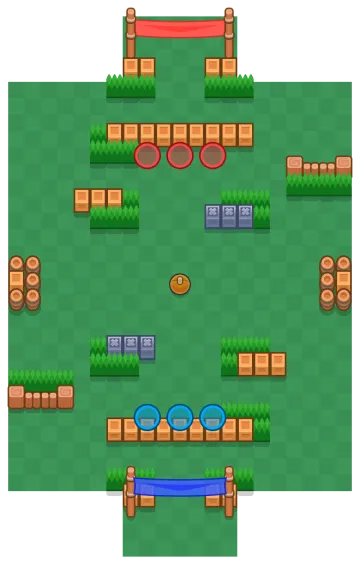
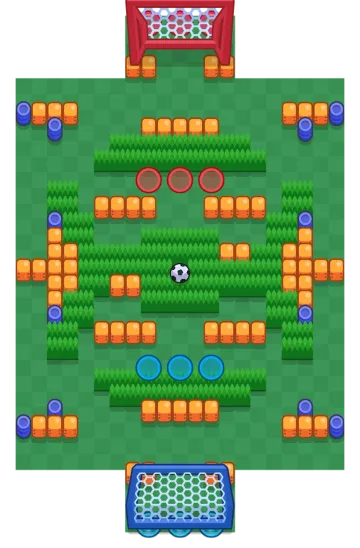
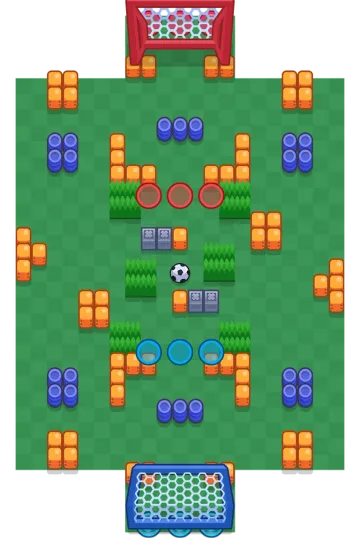
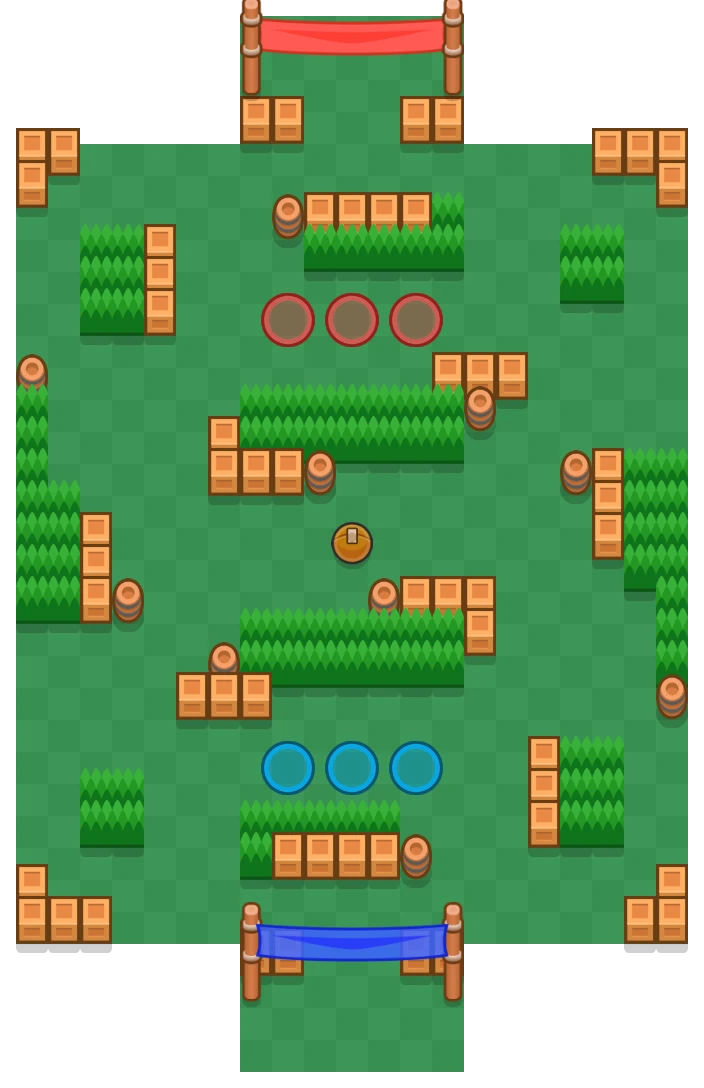
A mirrored pitch with dense hedges stacked either side of the halfway line and huge bushy wings that swallow whole rotations. The nets are narrow and screened by crate rows, so long shots rarely land and the goals that count come from a carrier who got under the posts. Bush control decides this map more than ball control does.
- The two goals sit centred on the short edges, each screened by a row of crates a few tiles out.
- Two thick hedge bars run across the middle, one on each side of the ball spawn.
- Both wings are deep bush columns running almost the full length of the pitch.
- Barrels are scattered through the middle, giving throwers cover but breaking on contact.
- The spawns are set forward of the crate rows, so a defender is always between the ball and the net.
What it is built from
ThemeGrassfield
Bushes82
Crates42
Best on Beach Ball
2,163 matches on this mapLegendaryAmber
Rank #1
EpicShade
Rank #2
Super RareGus
Rank #3
MythicCosmo
EpicTrunk
MythicGene
MythicLou

MythicCharlie
Reviewed picks
reviewed 19 Jul 2026Barleylobs over the hedge bars onto the ball spawn without exposing himselfRosaher shield makes her unkillable inside the wing bushesBullthe bushes let him close before anyone sees him comingTaraher Super drags a whole defensive line out of the goal mouthShellyshreds crates and anyone hiding in the hedge barsPocoheals a carrier through the crate-screen chip damage

Team compositions
Bush brawlRosa · Bull · PocoTwo brawlers who win every bush fight, plus the healing to keep taking them.
Deny the middleBarley · Tara · PennyConstant area damage on the ball spawn so the enemy never gets a clean pickup.

Playing it well
- Clear the hedge bars before you commit a carrier — an unseen Bull ends the possession instantly.
- Wings are faster than the middle here; the middle is where three defenders already are.
- Break the crate screen in front of their net during your first push so the second one can shoot.
- Give the ball to whoever entered the bush last; a carrier already in cover is halfway to a goal.
- Never contest the kickoff with all three — the hedge bars make a lost centre fight a conceded goal.