Tag TeamNot in rotation
 Tag Team
Warrior's Way
Knock out the enemy side when only one brawler per team is on the field at a time.
Overlays
Annotations are reviewed by hand for this map.
Plan your strategy
Draw routes, mark positions and share a plan with your team. Your draft saves on this device.
How this map plays
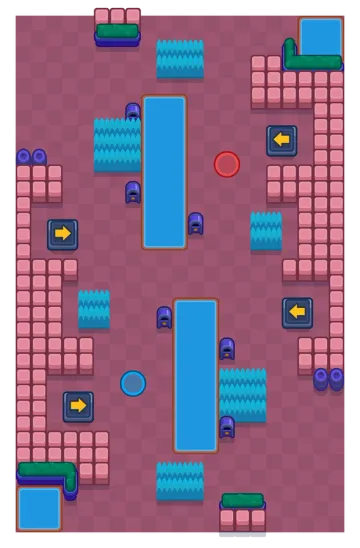
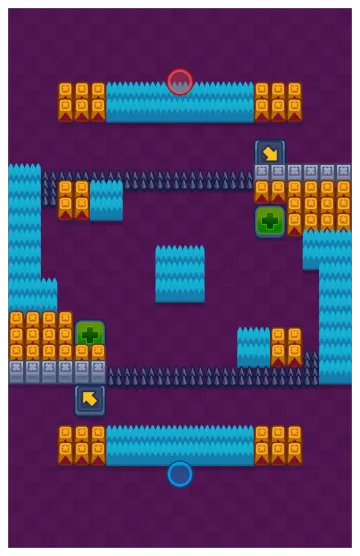
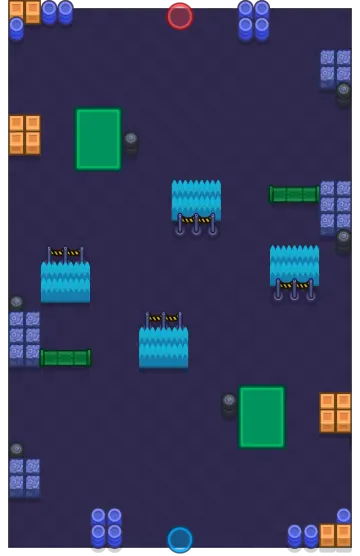
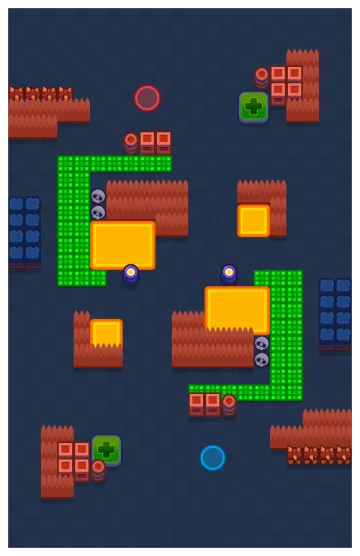
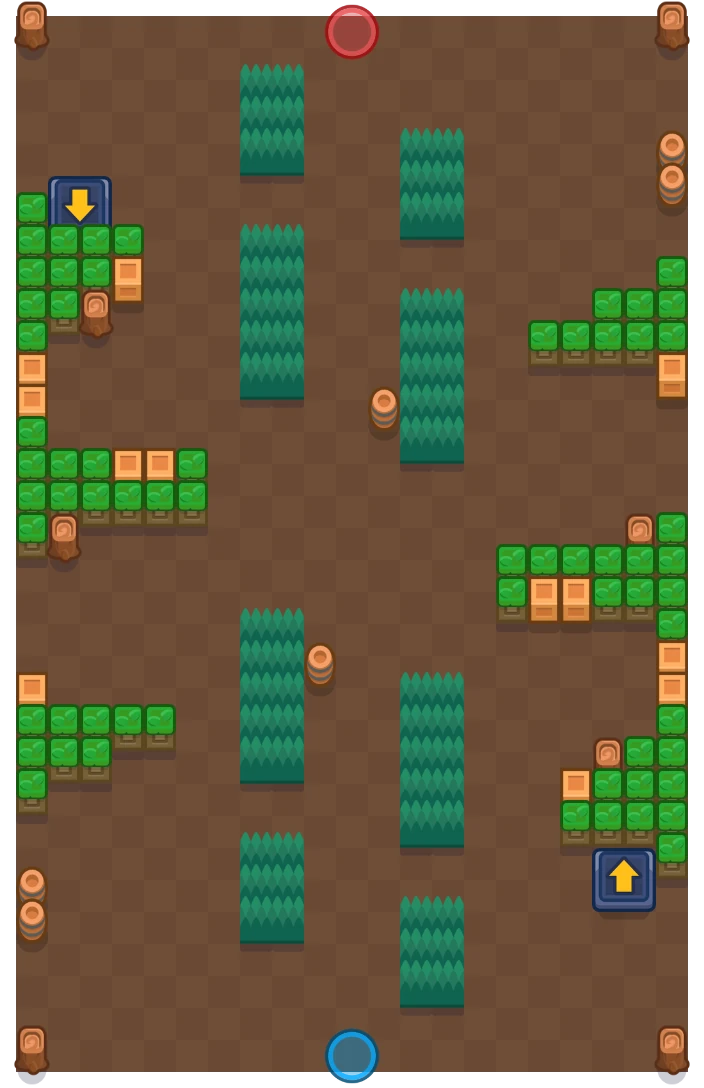
A duel arena built from four long vertical bush strips with an open corridor running straight between them. With one brawler per side on the field, the whole map is about whether you fight in the corridor or in the strips, and a jump pad on each flank lets a losing brawler reset the angle entirely. Hedge forts on both edges give a defensive brawler somewhere to stall out a tag cooldown.
- Four long bush strips run vertically down the middle, two on each side of centre.
- An open corridor runs the full length of the map between the inner strips.
- Hedge forts sit on the left and right edges, giving solid cover away from the corridor.
- A jump pad on each flank launches you across the map and resets a bad engagement.
- One spawn marker per team, because only one brawler per side is on the field.
What it is built from
ThemeGhost Station
Bushes64
Walls64
Crates12
Reviewed picks
reviewed 19 Jul 2026Piperthe centre corridor is a clean lane and there is no second enemy to flank herShellythe bush strips let her reach shotgun range without crossing the corridorEl Primohis jump plus the pads makes closing on a ranged brawler genuinely possibleBullfour bush strips mean he engages on his terms every single timeMandyholds the corridor at a range nothing without a dash can answerRosathe shield wins any strip fight and stalls the clock while your partner heals





Team compositions
Range then divePiper · El Primo · ShellyPiper builds the health lead in the corridor and Primo cashes it in when they close.
Bush duoBull · Rosa · ShellyTwo brawlers who never need the corridor and simply win every strip exchange.
Playing it well
- Decide your tag threshold before the round and hold to it — panicking into a tag hands over the health lead.
- Fight in the strips with a short-range brawler and in the corridor with a long-range one; never the reverse.
- Punish the tag animation, it is the most predictable moment in the mode.
- Use a jump pad to break a losing angle rather than walking back through the corridor.
- Track which of their two brawlers is hurt; the round is decided by whose second body is healthier.